
Burst flexi hose, failed shower membrane, storm through a roof, overflowing gutter into a wall cavity. Water damage is one of the most common reasons a Melbourne home gets repainted, and it is the job most often done in the wrong order.
The painting is the last step, not the first, and understanding why saves both money and a second repaint.
Nothing gets painted until three things are true
In order, and none of them can be skipped:
- The source is fixed. A ceiling painted under an active leak will stain again within weeks, and the paint is wasted
- The structure is dry, confirmed with a moisture meter rather than by touch. Plaster can feel dry on the surface while the sheet and the framing behind it are still wet
- Any mould is treated and killed, not covered. Coating over mould gives it a food source and it comes back through
Drying is the step people rush. Depending on how much water went in and how well the space ventilates, it can be days or it can be several weeks. In a Melbourne winter, longer. Painting a wall at 18% moisture content guarantees blistering.
Water stains bleed through ordinary paint
This surprises people every time. You can put three coats of good acrylic over a brown water stain and watch it reappear.
Water moving through plaster and timber carries dissolved tannins and salts to the surface. Water-based paint is permeable enough that those keep migrating through the film. The only reliable fix is a stain-blocking primer, usually shellac-based or oil-based, applied to the affected area before any topcoat.
If a quote for a water-damaged ceiling does not mention a stain-blocking primer, it has not been priced properly.
Patching a ceiling almost never matches
The most common disappointment in insurance work is a repaired patch that is invisible until the paint dries, and then obvious forever.
Two reasons. First, the repaired area has different porosity and absorbs paint differently, so the sheen sits differently even in the same product. Second, the surrounding ceiling has aged, yellowed and collected dust since it was last painted, so new white next to old white reads as a patch under any raking light.
The working rule is to paint to the nearest break: the full ceiling plane, or wall to wall, rather than a square around the repair. On a ceiling that is almost always the whole room. It costs more than a patch and it is the difference between a repair you stop noticing and one you see every day.
Our notes on ceiling water stains cover the diagnosis side, and ceiling repairs covers the plaster work itself.
When the plaster has to come out
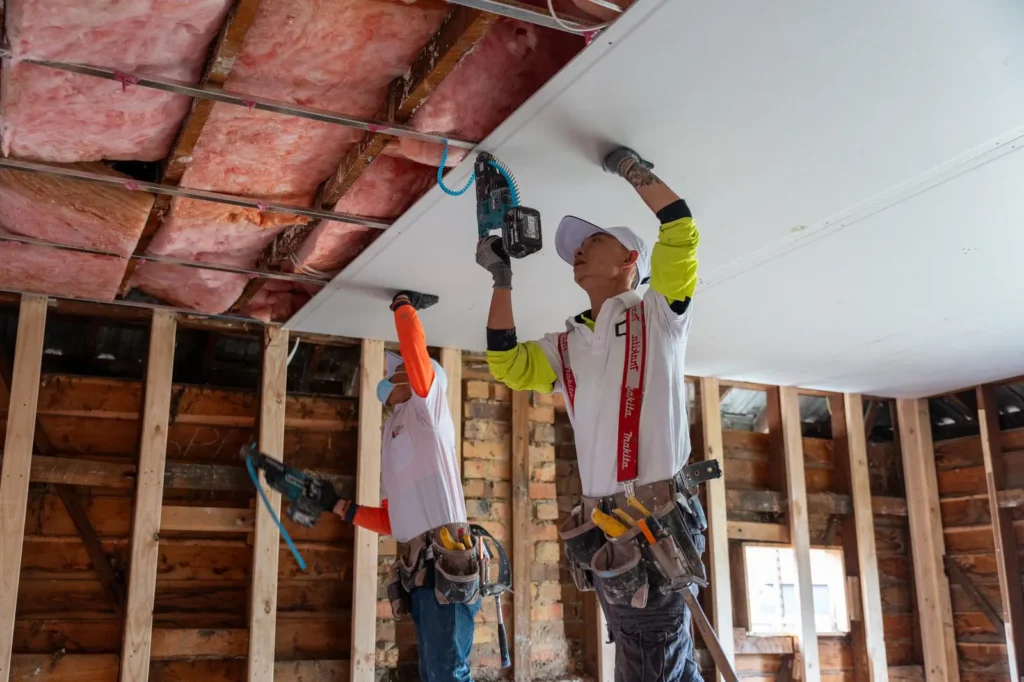
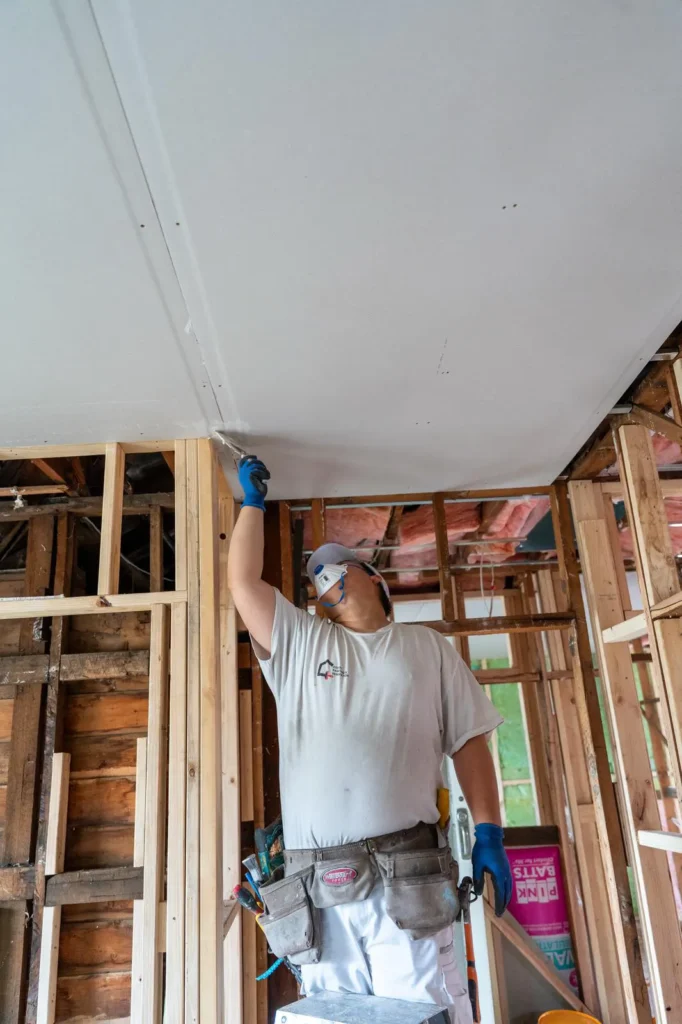
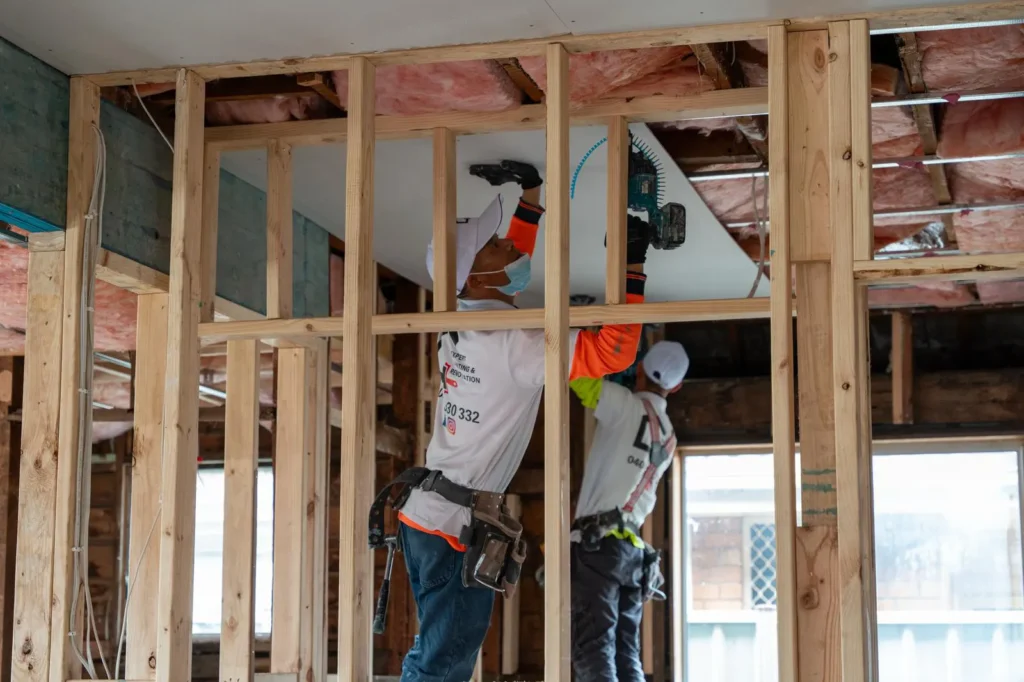
Not all water-damaged plasterboard can be saved. Replace rather than repair where:
- The sheet has sagged, bowed or lost its surface paper
- It crumbles or feels soft when pressed
- Mould has grown into the back of the sheet, which is common after a slow cavity leak
- The joints have opened up or the cornice has separated
Painting over compromised plasterboard hides the problem for a season. Our guide to wall repairs covers the patching side, and where masonry is involved and you see white crystalline deposits, that is efflorescence and needs addressing first.
If you are claiming on insurance
A few practical things make the difference between a smooth claim and an argument.
- Photograph everything before anything is touched, including the source, the damage and the affected rooms. Date-stamped photos settle most disagreements
- Do not throw out damaged materials until the insurer has seen them or released you to proceed
- Get the scope in writing. “Repair ceiling” and “repair and repaint ceiling to the nearest corners in matching finish” are very different jobs
- Make the extent of repainting explicit in the scope, because this is the single most common gap between what an owner expects and what is authorised
- Keep every invoice, including drying equipment and any emergency make-safe work
- Ask whether the policy covers matching undamaged areas. Many do, but it usually has to be asked for
We are happy to quote to an insurer’s scope, and equally happy to put in writing where we think a scope is too narrow to produce a result you will be satisfied with. Owners regularly find the second document is the useful one.
Rental properties
For a tenanted property the sequence is the same but the timing is tighter, because the place usually has to be habitable throughout or the tenancy is affected. Staging the work room by room, and scheduling the dry-out properly rather than optimistically, is what keeps that manageable. Our guide to rental property painting covers the rest.
What we do
- Moisture testing before any coating goes on
- Mould treatment rather than coating over
- Plaster repair and sheet replacement where the board is gone
- Stain-blocking primers on affected areas
- Repainting to a sensible break so the repair does not show
- Written scopes and photographs suitable for an insurance claim
We are based in Richmond and work across Melbourne, the bayside suburbs and coastal Victoria.
Call 0404 330 332. If the leak is still active, fix that first and call us once it is stopped: we will tell you honestly how long it needs to dry before we can do anything useful.
📍 Our Service Areas Across Melbourne, the Mornington Peninsula, Surf Coast & Phillip Island
Melbourne & Bayside
- Expert Painting and Renovation in Richmond
- Expert Painting and Renovation in St Kilda
- Expert Painting and Renovation in South Yarra
- Expert Painting and Renovation in Malvern
- Expert Painting and Renovation in Hawthorn
- Expert Painting and Renovation in Kew
- Expert Painting and Renovation in Balwyn
- Expert Painting and Renovation in Mount Waverley
- Expert Painting and Renovation in Ringwood
- Expert Painting and Renovation in Doncaster
- Expert Painting and Renovation in Hampton
- Expert Painting and Renovation in Frankston
- Expert Painting and Renovation in Mount Eliza
- Expert Painting and Renovation in Mornington
- Expert Painting and Renovation in Mount Martha
- Expert Painting and Renovation in Rosebud
- Expert Painting and Renovation in Sorrento
Phillip Island & Bass Coast
- Expert Painting and Renovation in Flinders
- Expert Painting and Renovation in Somers
- Expert Painting and Renovation in San Remo
- Expert Painting and Renovation in Cape Woolamai
- Expert Painting and Renovation in Cowes
- Expert Painting and Renovation in Coronet Bay
- Expert Painting and Renovation in Tootgarook
- Expert Painting and Renovation in Rye
- Expert Painting and Renovation in Blairgowrie
- Expert Painting and Renovation in Portsea
- Expert Painting and Renovation in Inverloch
- Expert Painting and Renovation in Kilcunda
- Expert Painting and Renovation in Ventnor
- Expert Painting and Renovation in Newhaven
Surf Coast & Bellarine Peninsula
- Expert Painting and Renovation in Geelong
- Expert Painting and Renovation in Torquay
- Expert Painting and Renovation in Ocean Grove
- Expert Painting and Renovation in Barwon Heads
- Expert Painting and Renovation in Anglesea
- Expert Painting and Renovation in Lorne
- Expert Painting and Renovation in Apollo Bay