
Somebody in the 1970s painted the staircase. And the doors, and the window sashes, and the picture rails. Now you own the house and you would like the timber back.
Sometimes that is a wonderful idea. Sometimes it is thousands of dollars spent discovering why it was painted in the first place.
Find out what is under there before you commit
This is the step that saves the most money and almost nobody does it.
Pick an inconspicuous spot, the inside edge of a door or the back of a newel post, and strip a palm-sized patch properly. What you find decides everything:
- Good quality hardwood with consistent grain, in sound condition: worth restoring
- Softwood, finger-jointed sections, or several different timbers patched together: it was painted because it was never show-grade. Leave it painted
- Deep gouges, old repairs, filler, or burn marks: a clear finish will advertise every one of them
- Timber that was stained dark before being painted: the stain often will not come out evenly
A test patch costs an hour. Stripping a whole staircase and then discovering it is three kinds of pine is a different kind of expensive.
Assume lead, because it probably is
Paint from before the 1970s very likely contains lead, and on original joinery the bottom layers almost certainly do.
That means no dry sanding, no power sanding, and no heat guns, which release lead fumes at stripping temperatures. Chemical stripping worked wet, with proper containment and waste handling, is the method. Our guide to lead paint in Melbourne homes sets out testing and safe practice, and it matters more on interior joinery than almost anywhere because you live with the dust.
The pieces, and what each one involves
Doors. The most straightforward, because they come off their hinges and can be worked flat. Be careful with caustic dip stripping: it is cheap and fast, and it can loosen old glue joints and raise the grain badly on quality joinery. For a solid original door it is often worth stripping by hand instead.
Staircases. The hardest thing in the house. Treads, risers, strings, balusters, newel posts and handrail, almost all of it detailed, much of it awkward to reach, and the whole thing in daily use while you work on it. Expect it to take far longer than it looks.
Window sashes. This crosses from painting into joinery. Sashes have putty, glass and often cords and weights, and stripping them properly usually means removing the sash. Our guide to window frame painting covers the repair side.
Skirtings, architraves and picture rails. Long runs of repetitive profile. Straightforward but slow, and the detail clogs easily. See painting skirtings and trims.
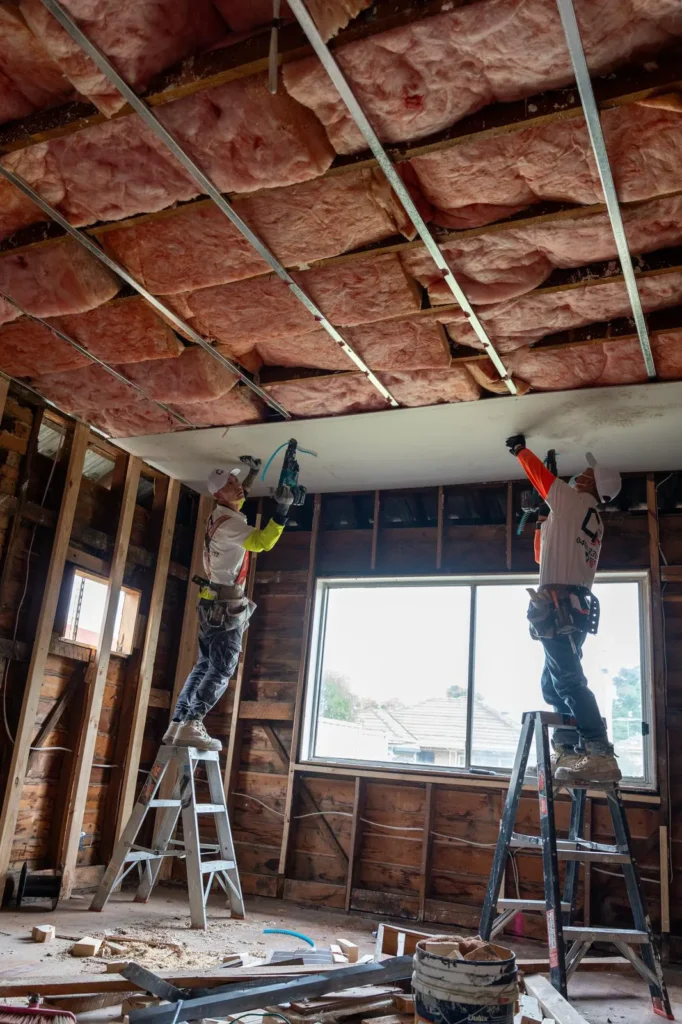
Exposed beams and timber ceilings. Common in mid-century and converted warehouse spaces. Overhead work, which doubles the time and makes containment harder.
Choosing the finish
Once the timber is back, how you seal it determines how it ages and how easy it is to maintain.
- Hardwax oil. Penetrates rather than forming a thick film. Looks natural, and worn patches can be spot-repaired without stripping. Needs recoating more often
- Polyurethane. Durable and washable, forms a film. Excellent on stairs and high-traffic surfaces. When it finally fails it fails as a film, so the repair is a full strip rather than a touch-up
- Shellac and traditional finishes. Historically correct, beautiful, and not durable against water or alcohol
- Wax over oil. Lovely on low-traffic joinery, hopeless on a handrail
The honest rule: anything hands touch daily wants polyurethane or hardwax oil. Anything decorative can take whatever you like the look of.
Matching new timber to old
If a section has been replaced, the new timber will not match. Old timber has darkened with decades of light exposure, and a fresh board of the same species will read noticeably paler.
It can be toned with stain to get close, which is skilled work, and it will still shift over the following years as the new timber darkens at its own rate. Worth knowing before you expect an invisible result.
When the answer is to repaint it properly
There is no shame in this, and it is frequently the better outcome.
A well-prepared, well-finished painted surface on timber that was never meant to be seen looks deliberate and crisp. A clear finish over patched, mismatched, gouged softwood looks like a job somebody gave up on halfway through.
If the test patch is disappointing, the money is better spent on a proper paint finish: stripping the build-up so the detail is sharp again, filling and sanding properly, and a good enamel. For front doors specifically, see front door painting.
Maintenance, realistically
Interior timber has an easy life compared with anything outside. No UV to speak of, no rain, stable temperature.
What wears is contact: handrails, door edges around the handle, the bottom of doors, stair nosings. Those spots need attention long before the rest of the piece does, and a finish you can spot-repair is worth a great deal on exactly those surfaces.
What we do
- Test patches before any commitment, so you know what is under the paint
- Lead-safe stripping, worked wet and contained
- Doors, staircases, sashes, architraves, beams and built-in joinery
- Timber repair and section replacement where needed, covered further in timber repair
- Clear finishes matched to how the surface is actually used
- An honest recommendation to repaint when restoring is not the right answer
We are based in Richmond and work across the inner suburbs, bayside Melbourne and coastal Victoria.
Call 0404 330 332. If you are considering stripping a staircase, do the test patch first and send us a photo of what you find.
Related reading
- Ceiling roses and decorative plaster
- Plastering cost in Melbourne
- Skim coating walls
- Heritage colour schemes
- Patch or re-sheet plasterboard
📍 Our Service Areas Across Melbourne, the Mornington Peninsula, Surf Coast & Phillip Island
Melbourne & Bayside
- Expert Painting and Renovation in Richmond
- Expert Painting and Renovation in St Kilda
- Expert Painting and Renovation in South Yarra
- Expert Painting and Renovation in Malvern
- Expert Painting and Renovation in Hawthorn
- Expert Painting and Renovation in Kew
- Expert Painting and Renovation in Balwyn
- Expert Painting and Renovation in Mount Waverley
- Expert Painting and Renovation in Ringwood
- Expert Painting and Renovation in Doncaster
- Expert Painting and Renovation in Hampton
- Expert Painting and Renovation in Frankston
- Expert Painting and Renovation in Mount Eliza
- Expert Painting and Renovation in Mornington
- Expert Painting and Renovation in Mount Martha
- Expert Painting and Renovation in Rosebud
- Expert Painting and Renovation in Sorrento
Phillip Island & Bass Coast
- Expert Painting and Renovation in Flinders
- Expert Painting and Renovation in Somers
- Expert Painting and Renovation in San Remo
- Expert Painting and Renovation in Cape Woolamai
- Expert Painting and Renovation in Cowes
- Expert Painting and Renovation in Coronet Bay
- Expert Painting and Renovation in Tootgarook
- Expert Painting and Renovation in Rye
- Expert Painting and Renovation in Blairgowrie
- Expert Painting and Renovation in Portsea
- Expert Painting and Renovation in Inverloch
- Expert Painting and Renovation in Kilcunda
- Expert Painting and Renovation in Ventnor
- Expert Painting and Renovation in Newhaven
Surf Coast & Bellarine Peninsula
- Expert Painting and Renovation in Geelong
- Expert Painting and Renovation in Torquay
- Expert Painting and Renovation in Ocean Grove
- Expert Painting and Renovation in Barwon Heads
- Expert Painting and Renovation in Anglesea
- Expert Painting and Renovation in Lorne
- Expert Painting and Renovation in Apollo Bay