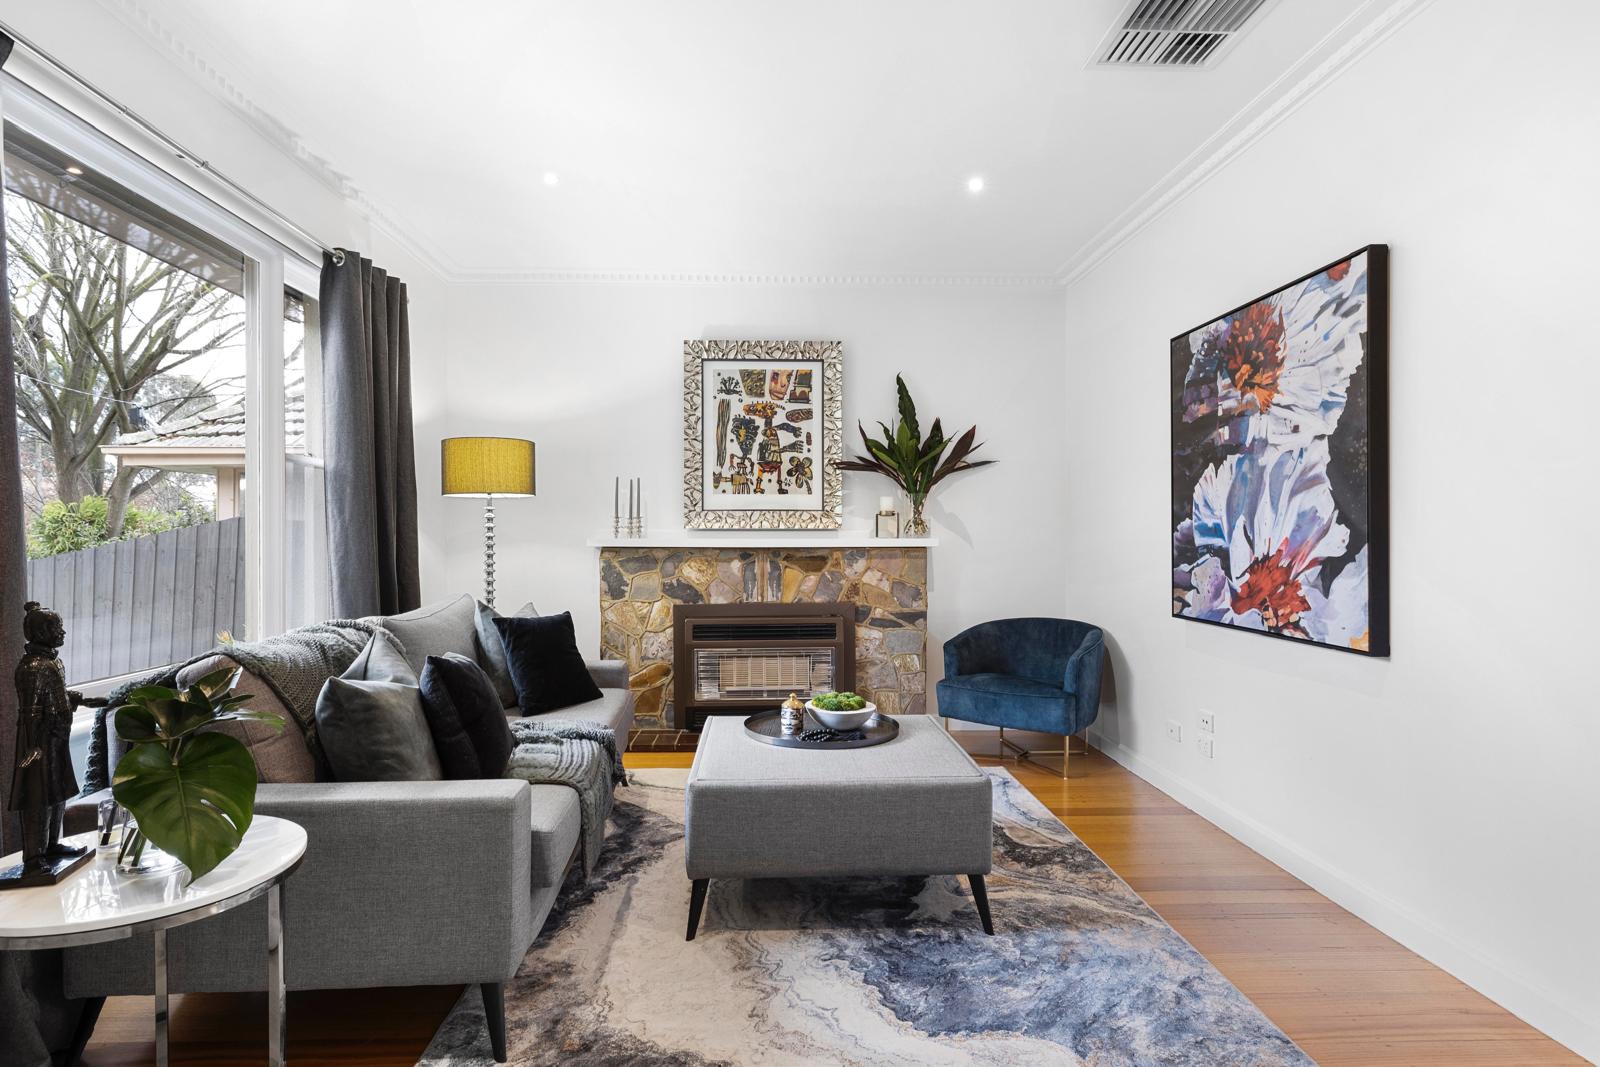
DIY interior painting is a fun project but it can be haunting with improper technique and knowledge. Are you going for an interior painting mission, if yes, then follow these interior painting tips to make things go.
Expert Paint Melbourne is here to help, we have years of experience as Expert Painters Melbourne. We have been through many interior painting tricks, hence, we know what works and what just doesn’t. In short, you are in the right place for the right information.
Out of many of our interior painting tips and tricks, we mention our top DIY interior painting tips and tricks.
With all being said it is painting time now.
1. Use the Right paint Brushes and Rollers, Specifically
Not all types of painting brushes and roller blinds are appropriate for all types of painting needs. You need different, better to say, specific types of painting brushes and rollers to make sure of specific painting tasks.
For instance, painting huge walls of a big room with a small painting roller will not only cost you much more time, but it’ll also lead to poor finishing. Invest in 15 to 18-inch painting rollers for larger rooms.
Now you have your specific painting rollers and brushes, then what, just go and paint? No, good technique counts. Here is what to follow.
Stand as far from the wall, so that your arms are allowed to be fully extended. Always start from the middle, and keep it neither slow nor speedy. Finish by taking overlapping passes, only downward.
2. Be Mindful Of Your Painting Cans
Make sure to always lid on your painting cans, when you end a session. Before lid off the cans, make sure to check you are using the right lid. Placing lids in the wrong order may cause waste in a can. For instance, if the lid of blue color can onto white one, it may damage the white color in it while mixing. Here is what to do.
Double-check the lid color and wash any color mix, if it has some. Firmly press down the lid with the help of your hands and heels.
It is necessary to seal the can, if it doesn’t work with your hands’ heel then use a hammer to slightly tap around the lid’s circumference.
3. Paint The Trims First
the professional painters painting in a specific order that they classified because of their years of experience. Expert Paint Melbourne paints uniquely for interior painting to make things properly finished.
Try painting the trims first, before the ceilings and walls. Because nicely painted trims allow you to have a nice picture in your head about where things are going.
If you are painting trims then there should be tapes, and it is easier to tape off the trims than any other area. Also, you don’t have to worry about the neatness while painting trims. If the trim paint gets onto the walls, you can easily overlap it later when painting the walls.
4. Wash The Painting Areas Before Painting
Painting on a dirty, especially on a dirty wall can cost poor finishing. It will cause the painting coats to be easily peeled off from the surface.
It would help if you took time for prepainting cleaning of the intended surfaces. You can use specific prepainting cleaners to make things easy for you.
Use a good prepaint cleaner with a cleaning pad or cloth and start from the bottom to the very top of the wall, in a circular motion.
While doing prepaint cleaning, if you encounter any such holes on the surface, try not to avoid them, it will cause poor finishing. Plaster them or sand them but fill them most efficiently. Now you are ready to paint.
5. Make Sure The Sturdiness Of Masking Tape
In case, you are looking to make things nicely done with details, then masking tapes is the way to go. But there are some places where it requires you to use your muscles slightly more.
There are places, where you have to first press the tape and then push it further in to make it sturdy. Sometimes, when you some plaster wall art, close to the edges of the wall.
Also, it requires you to carefully remove the masking tape in these situations. If the masking tape is hard to remove, then simply score somewhere with the help of a razor or knife and then pull from there.
6. Maintain The Health Of Your Paint Brushes and Rollers
Over time, you may notice that your painting brushes are getting bent. These bent brushes can cause you poor finishing.
So, what is the solution?
Try to trim down the brush with a sturdy scissor. Trim it down to the moment when there is no bent.
In case, your brush is in extremely bad condition, replacing it is the only choice you have to get things going.
The same goes for painting rollers. Rollers are made from fibers, sometimes due to periodic use there may be an unusual fiber in the middle somewhere, and you have to trim it.
Rollers may also need to be trimmed off their ends as you may be aware that good painting rollers are expensive and hence you should take care of them.
Bonus Takeaways
- Investing in high-end painting equipment and paint as well, will not only leave you with good finishing but also make things way more easier for you.
- Painting on dirty surfaces, thinking that the fresh coat will cover it up is a joke. Consider prepainting cleaning to painting smoothly and easily.
- Always cover your painting cans after a session, if you let go of a half-empty paint can, the paint in it will dry off.
- Give enough time to paint to dry and then you easily remove the masking tape.
- Grab Free Quotes For all of your Painting Needs, Contact Expert Paint Melbourne.

